Fallout 3 The Wasteland Survival Guide Quest
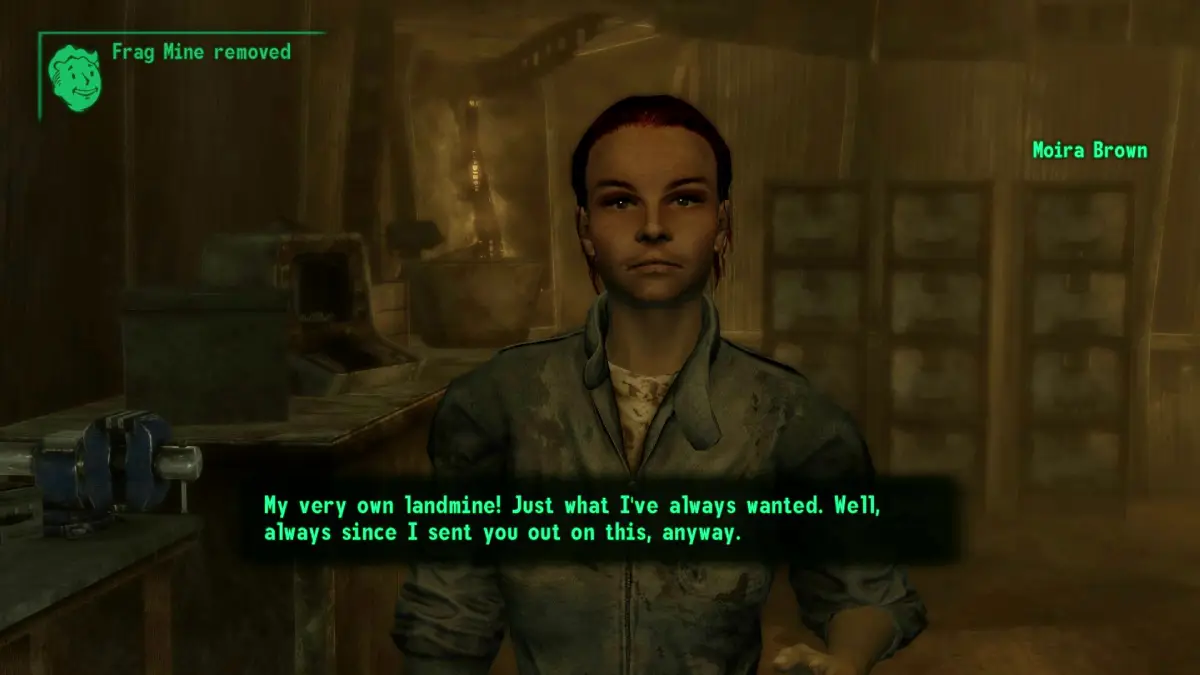
The Fallout 3 The Wasteland Survival Guide is a quest you can pick up quite early in your adventure. It exposes you to survival elements from medical items procurement to radiation and more. Not only is it a valuable experience for you and your character but it also unlocks some useful survival perks not accessible from levelling up your character. If you need a character build beforehand check out this guide: Best build for Fallout 3.
Get the Quest
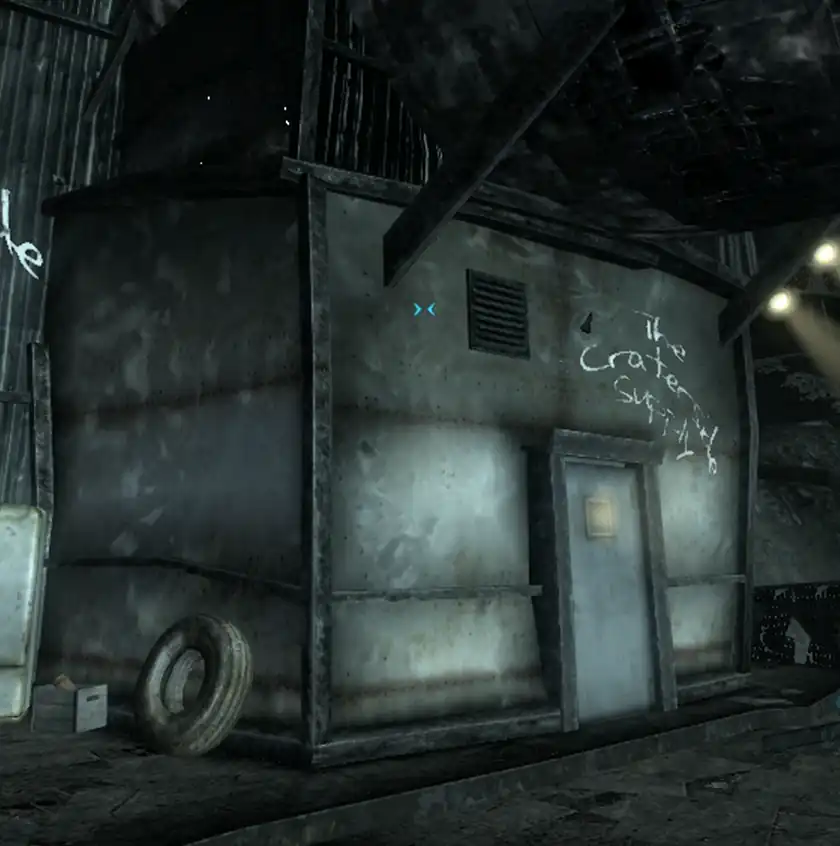
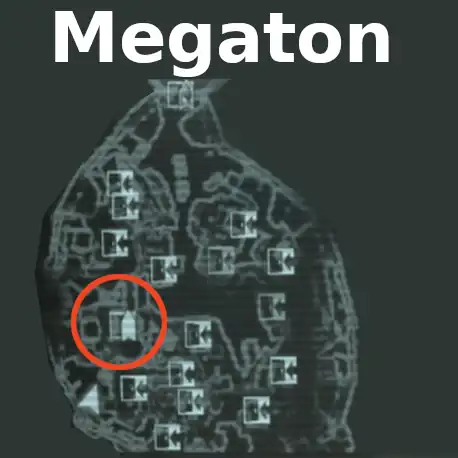
After you have escaped the vault make your way to the nearest town called Megaton. Megaton is a great base for the start of your adventure. There are shops and also you can pick up some quests from the residents. To start the quest make your way to Craterside Supply which is shown on the map below.
Inside you will find Moira (click here for a wiki on her), speak to her and ask her if you can help with the Survival guide and she will provide you with a few different tasks. The first one we will tackle is the Super Duper Mart. This will provide you with some more combat experience as well provide much much-needed supplies.
The Super Duper Mart
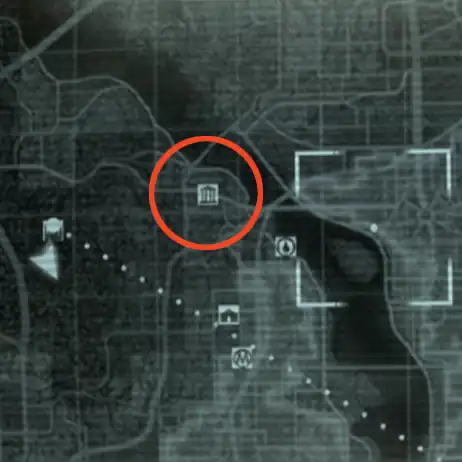
The Super-Duper Mart is located east of Megaton. It’s an easy journey and shouldn’t require much fighting. Once you get to the Super-Duper Mart however there will most likely be a battle between a neutral Eyebot and enemy raiders. The Eyebot will provide ample distraction for the raiders which should allow you to take shots from afar without engaging them directly. Once they are down, loot their bodies of any weapons and ammo. If their armour is better than what you have equipped then snag that. Then take one of two doors into the mart.
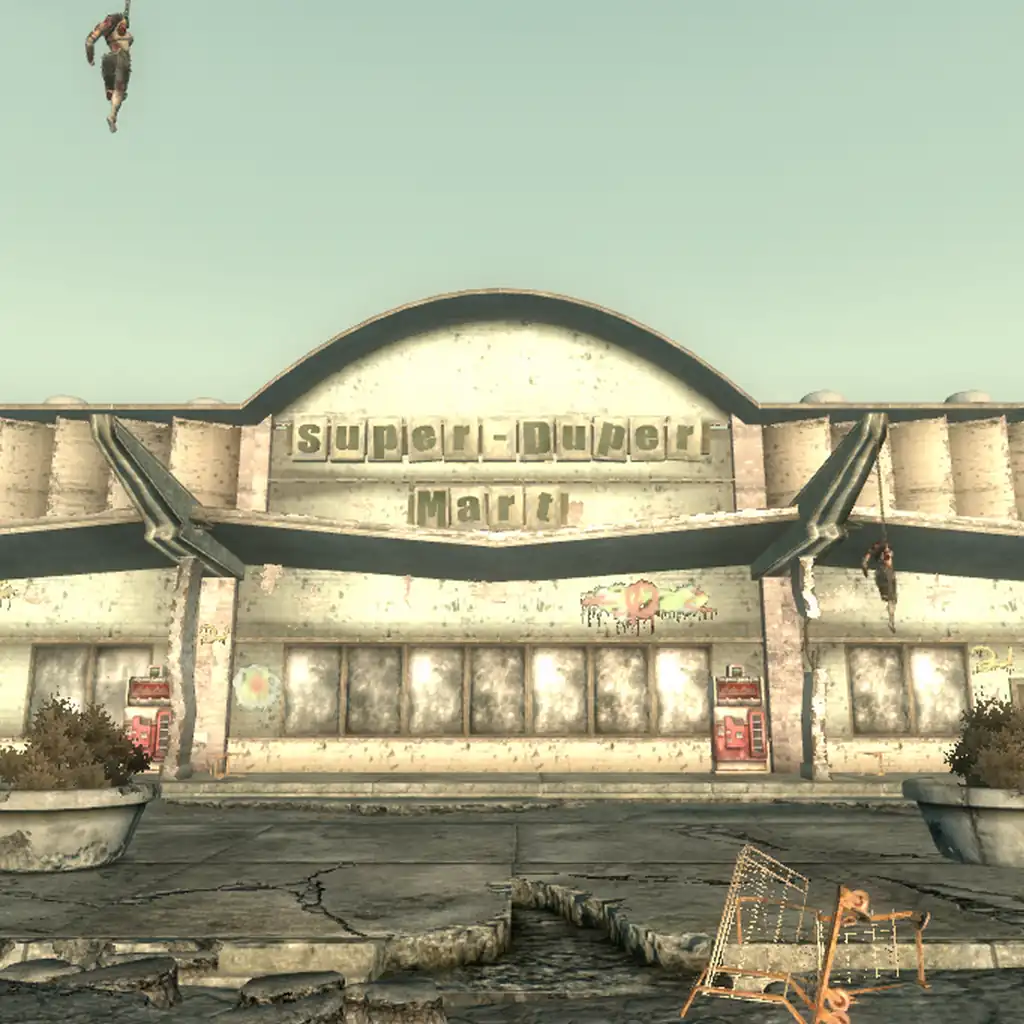
Inside there will be more raiders to take down. Depending on your skills, a stealthy approach is recommended. The should not be too difficult to take down, but if they gang up on you it’ll be difficult to manage them all.
Once they have been dispatched, head to the back of the market. There is a door which leads to a junction, go right and loot the room that follows. There should be plenty of Bottlecap Mines and Frag Mines. Return to the entrance of the mart. Place frag grenades and bottlecap mines along the two entrances.
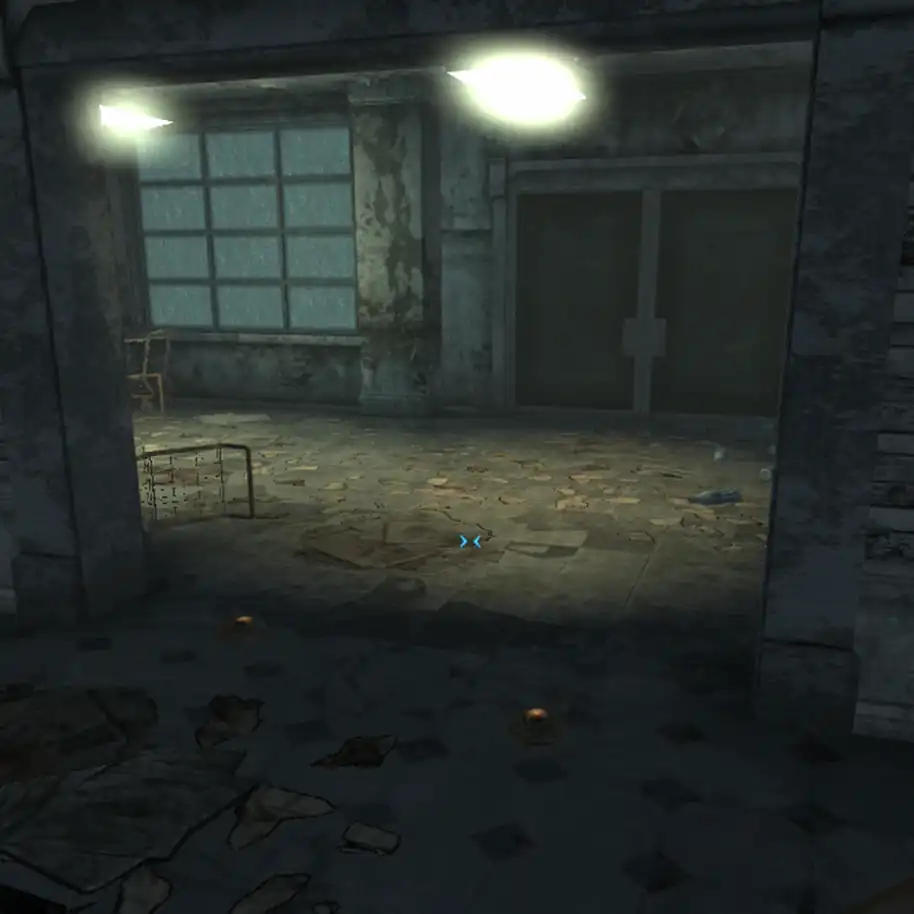
Next, go to the back of the store go through the door again and go through the left doorway. To the left are counters and there is a magazine called Tales a Junktown Jerky Vendor There is a terminal straight ahead next to a locked door. Either hack the terminal or use your lockpick skill to open the door.

If neither your lockpick nor science skill is high enough, there are metal boxes in the other room containing the key.
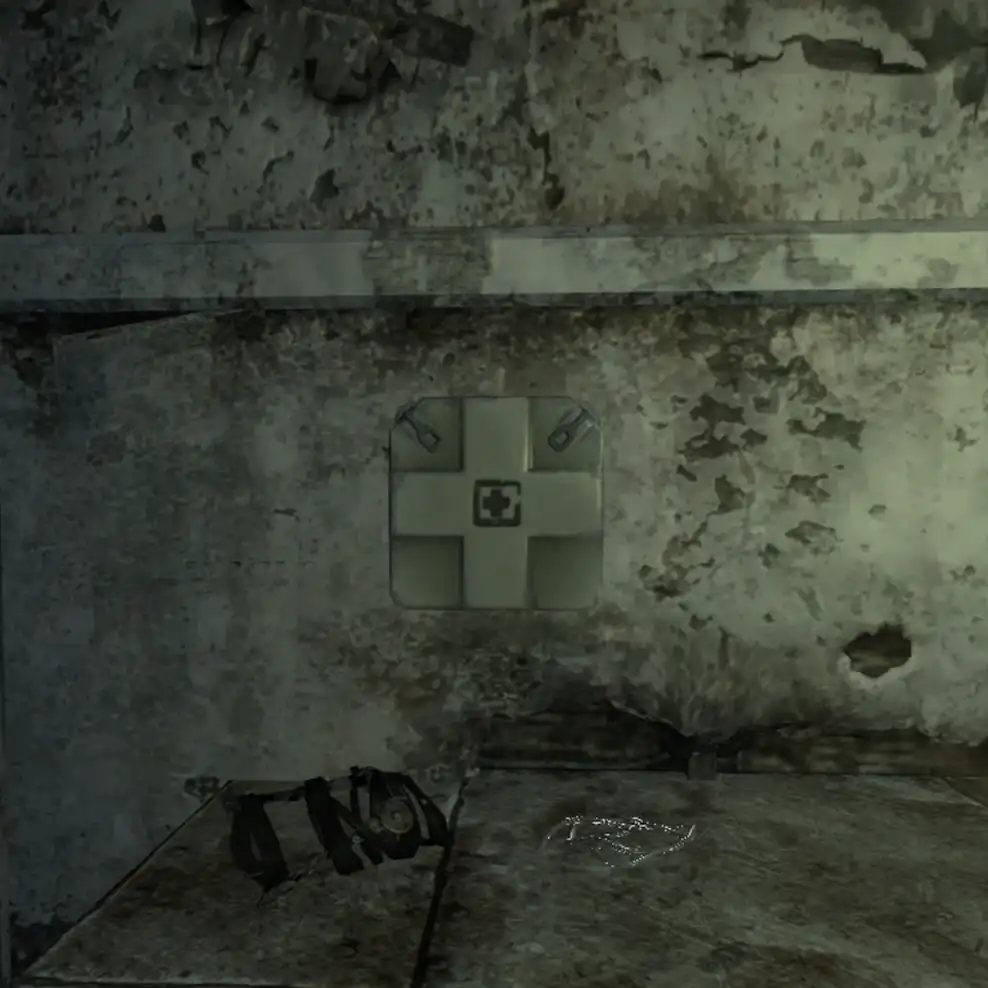
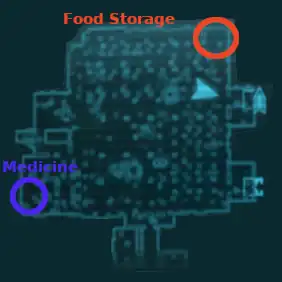
Inside the pharmacy at the far back is a first aid storage box open it to complete the optional quest. Next to the first aid storage is another terminal. If you can, hack the terminal to release the Protectron. It will patrol the interior of the mart for enemies which will come in useful.
Continue exploring this room and you should find a few Nuka Cola Quantums needed for another quest. So do not consume them.
When you leave the room, more raiders appear searching for the intruder. However, the mines you placed earlier should handle a few of them. Now with the help of the Protectron dispatch the remaining raiders.

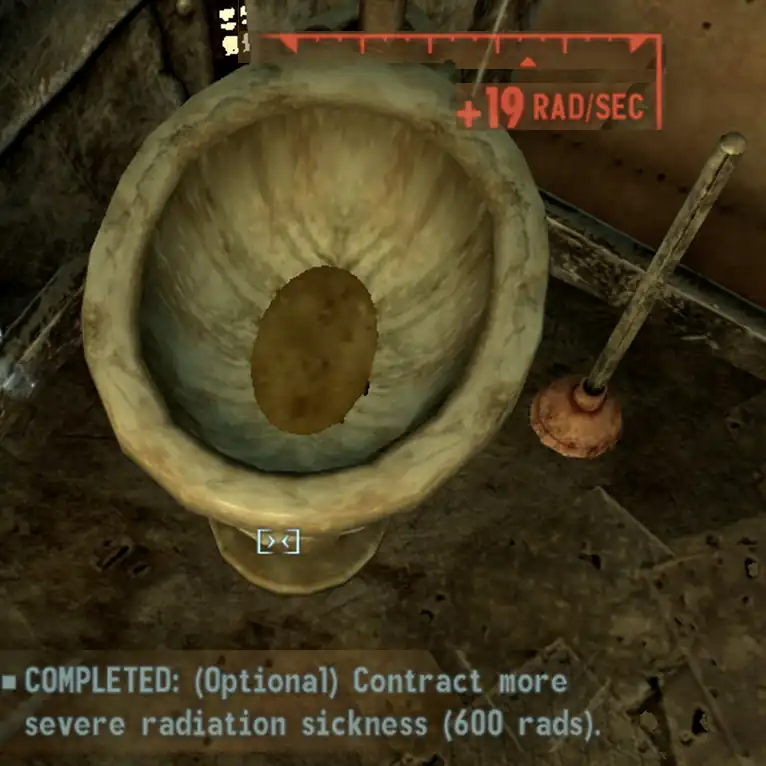
If after battling with the raiders you are running low on health. Don’t use any healing items. Instead, go to the restrooms in the south and drink from the toilet. The rads you receive will be needed for the next quest.
Once cleared head to the northeast corner of the mart and there is a doorway into another room. To the left is a refrigerator this is the food storage. Open and loot it to complete the quest. Loot the room as it includes two Laser Pistols and plenty of ammo. Once you have looted the area leave the Super-Duper Mart and fast travel back to Megaton. She will reward you with a Food Sanitiser and some iguana bits. The food sanitiser will increase the HP gain from food by 20%.
This is Rad
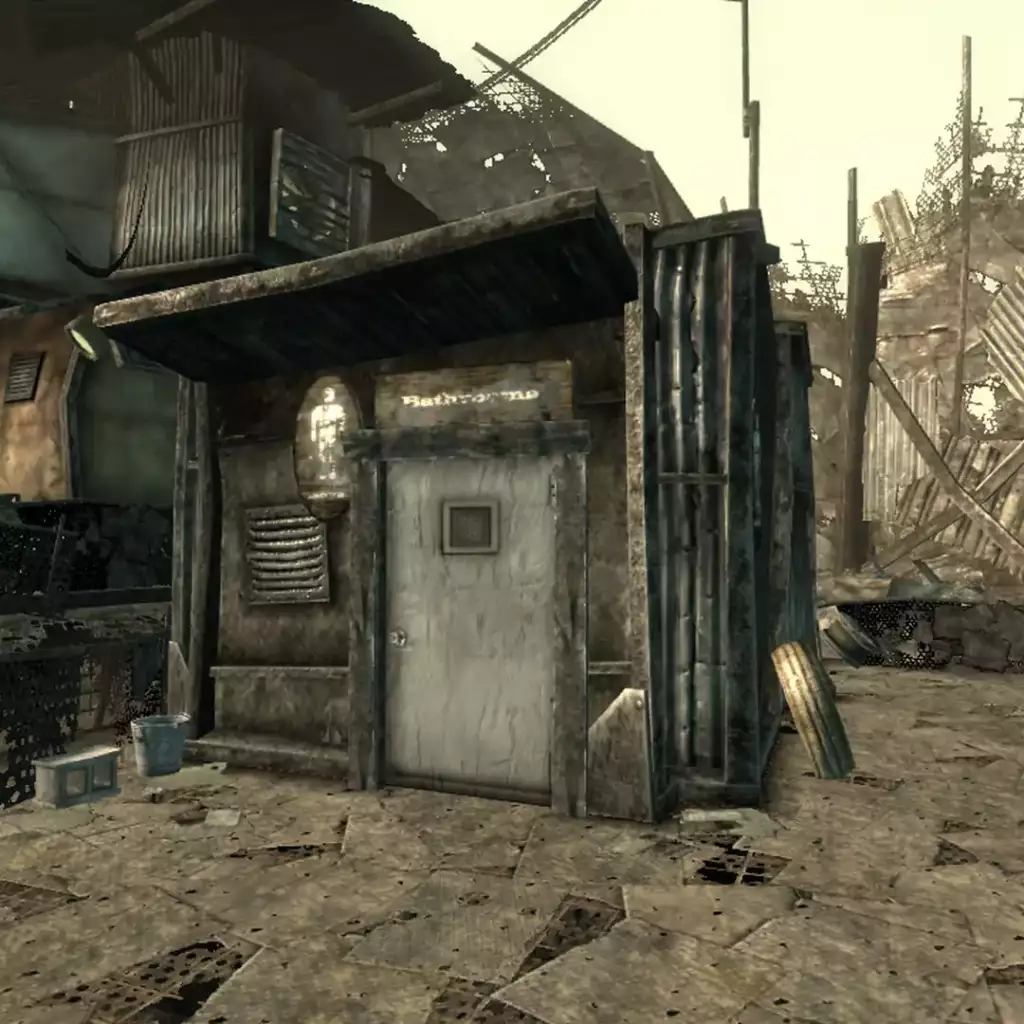
Moira next task for the wasteland survival guide you with exposing yourself to radiation poisoning. This is quite a simple task, leave the Craterside Supply. Head right, up the steps and to the left there is a male restroom. Enter the restroom and drink from the toilet. Keep drinking until your rads are up to 600, the quest complete for the optional notification should then appear. You can stop drinking now. Head back to Moira for your reward. With the bonus objective complete you receive the Rad Regeneration Perk which will repair crippled limbs when you’re in advanced radiation poisoning. You’ll also receive some Rad-x and RadAway.
Minefields and the Sniper
The final part of this chapter of the wasteland survival guide is to get to the centre of a town surrounded by mines, protected by an eagle-eyed sniper. It is unimaginatively named Minefield. Unlike the previous excursions, this journey will take longer and may result in a few battles with the wasteland’s fauna and possibly raiders.
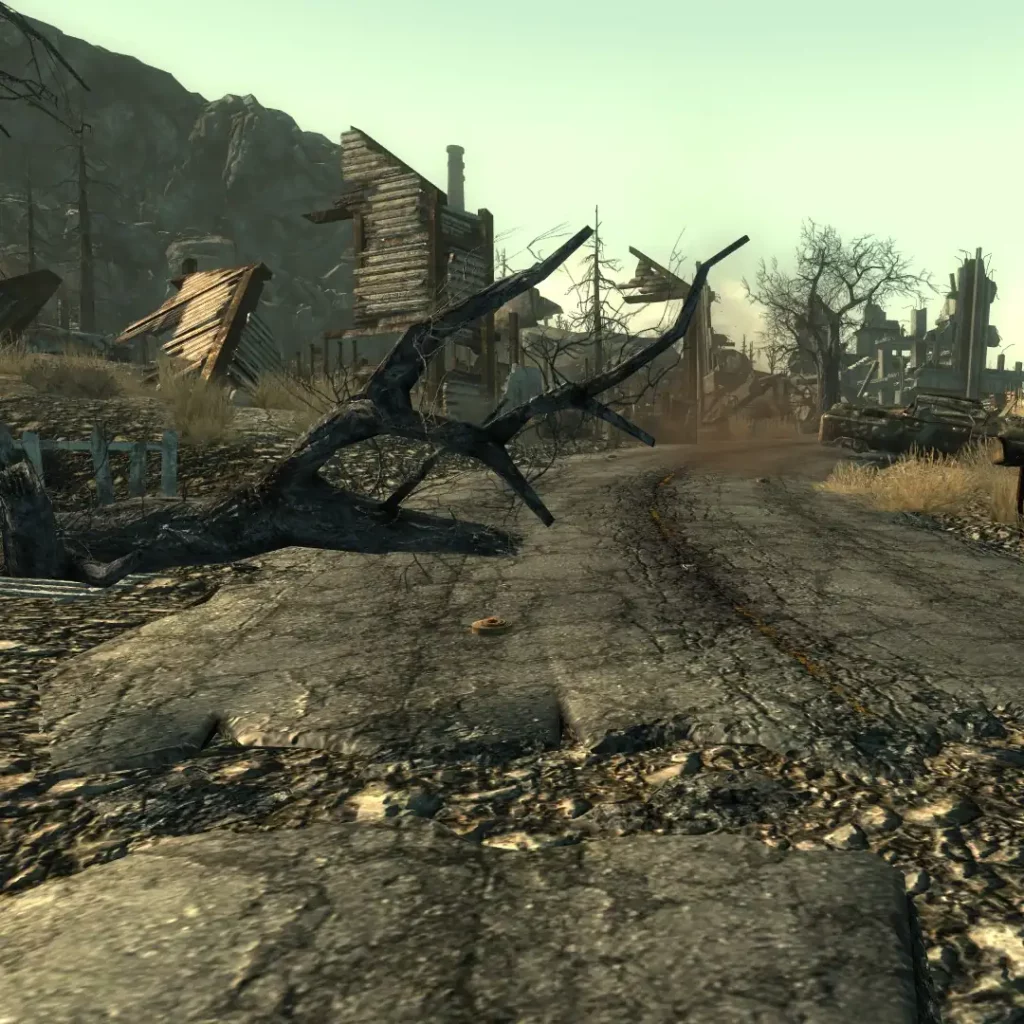
Once you get to the point above, you must look out for the frag mines and the sharpshooter. Even if you are stealthy he will still fire upon you. Watch out for the vehicles on the road, he tends to target them and they will explode after a few seconds. If you sneak up on the mines, however, you can disarm and take them. You need to do it quickly and before the beeping sound rapidly increases in tempo. Continue collecting mines and making your way through the town. Once you make it to the playground you have completed the quest. You can either confront the sniper. Or make your way out of town and fast-travel back to Moira.
Moira will be grateful for your gift. She will reward you with a few grenades as well as a schematic for the bottlecap mine, which is one of the most powerful mines.
End of Chapter 1 of Fallout 3 The Wasteland Survival Guide
Moira will then reward you with some stimpacks and XP. This ends the first chapter of the wasteland survival guide. The tasks only get harder from here. Chapter 2 can be found here.